
Motivation
I wanted to tidy up my workbench, so I decided to build a prototyping stand for my electronic projects. A big advantage of this is that you can carry the projects around without breaking them. I also want to use it to teach my kids electronics. That is why it must be easy to use and look nice.
The prototyping stand has an integrated power supply which supplys 3.3V and 5V. It has enough space to work comfortable because it features two breadboards. And it features banana sockets because they look cool.
Parts needed
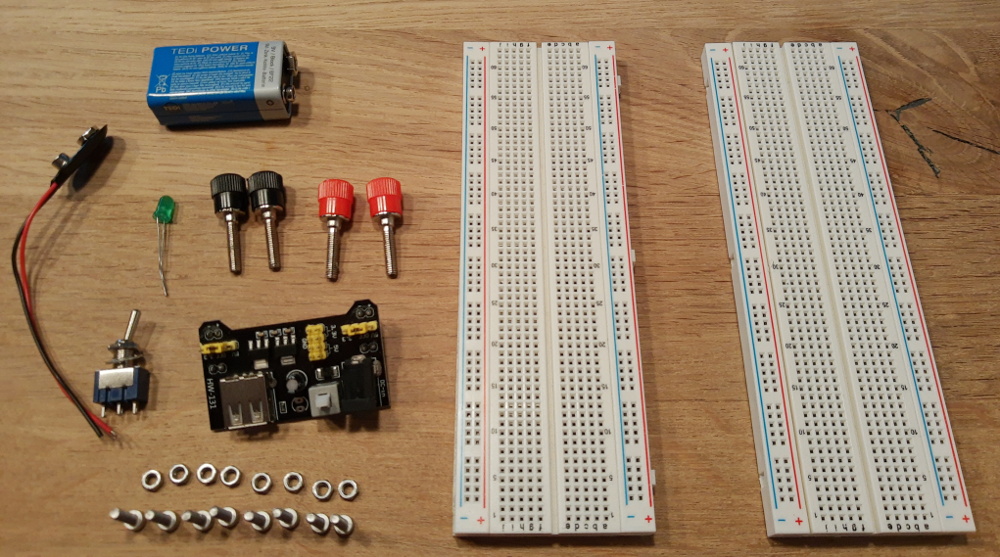 The power supply is an cheap hw-131 board (2,50€ on eBay) which has short circuit protection. Apart from that
- some M3 screws and nuts
- four banana sockets
- two breadboards
- an on/off switch
- a green LED
- a 9V battery and a battery cable are needed.
3D Printed Parts
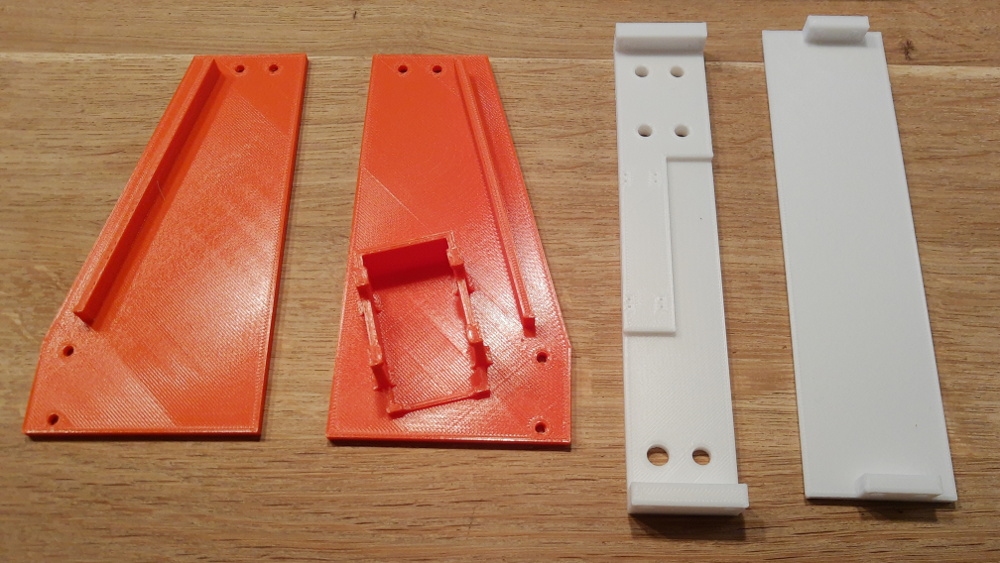 The stand consists of four 3d printed parts which I designed with Fusion 360. I printed the parts with 50% infill to achive the appropriate strenght. I also used two different colors. The parts can be downloaded here:
The front:
The left side with the battery holder:
The right side:
The top with the holes for the banana sockets, power switch and more:
Assembly
The first step of the assembly is to unsolder the build in green power LED from the hw-131 board. The LED is replaced by a bigger one on top of the prototyping stand. 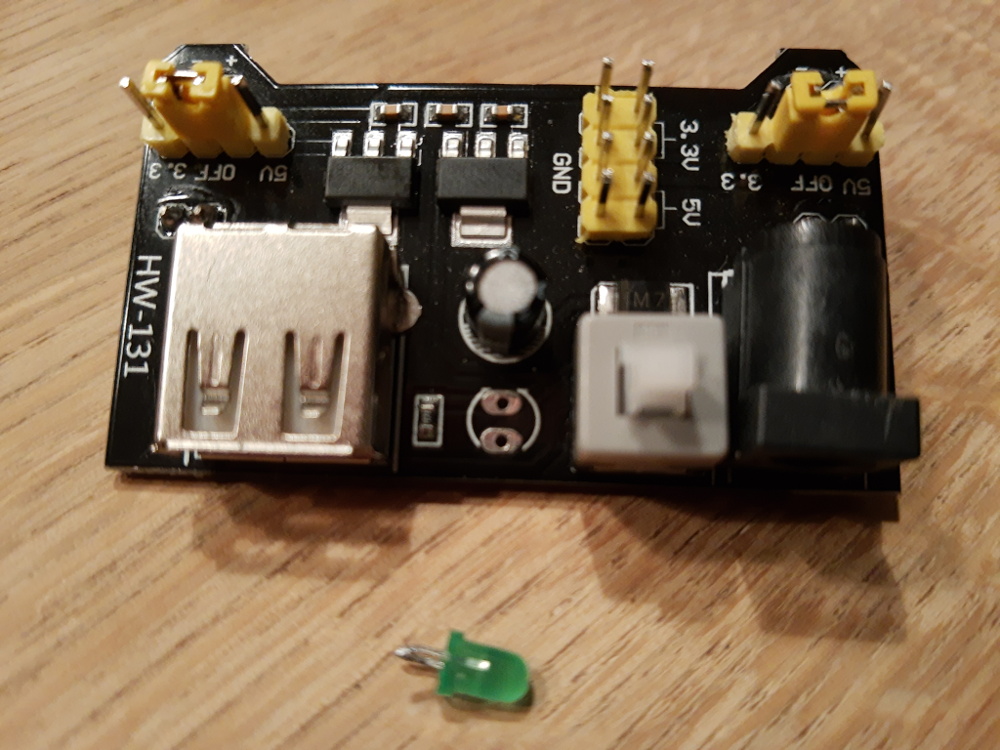
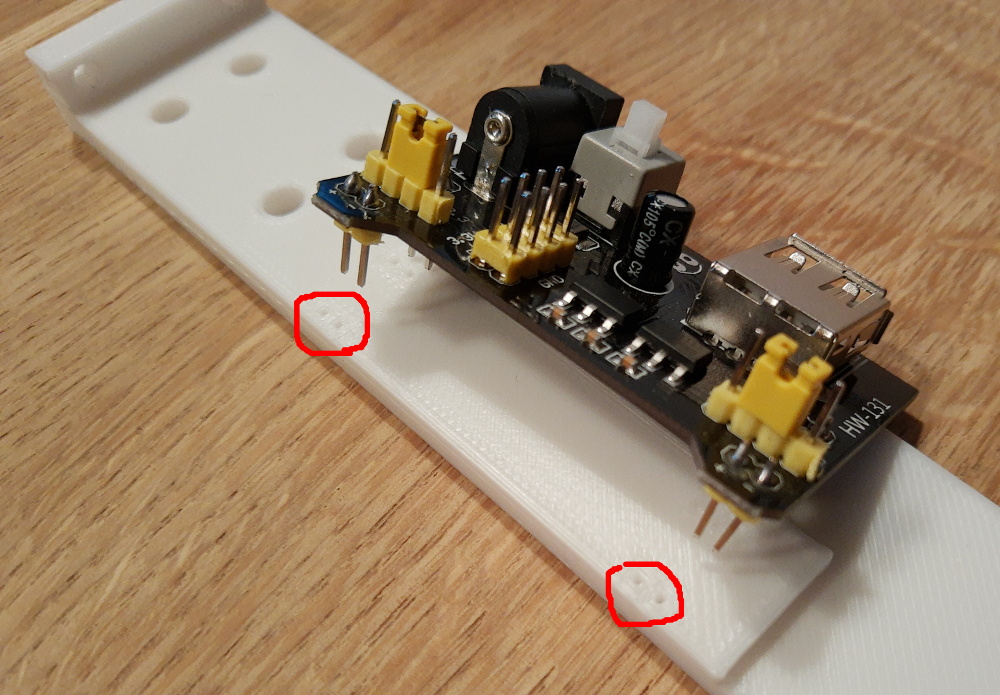
Next, the hw-131 board is sticked in the holes (marked red) at the bottom of the 3d printed “top” part, no gluing necessary. The holes are so small that the hw-131 board sits very tight.

Then, the power switch can be soldered to the battery and the hw-131 power supply with some cables. 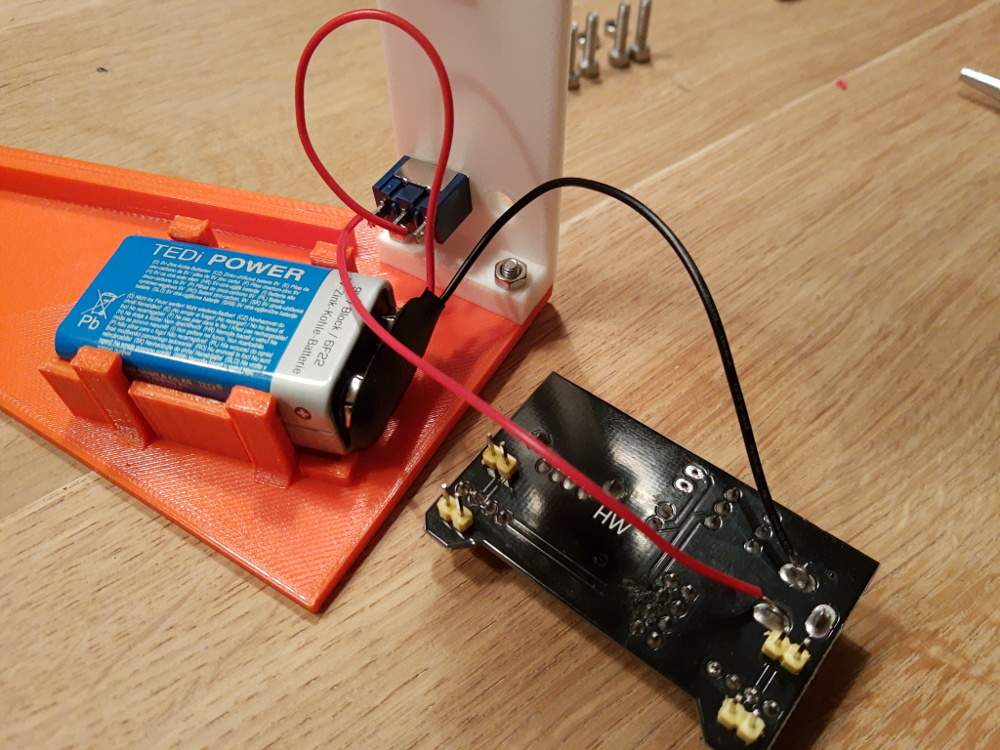
The next step is to solder the new power LED to the hw-131 board. The new LED uses the same connections as the old, unsolderd LED. The new LED is glued to the printed “top” part with plastic glue. 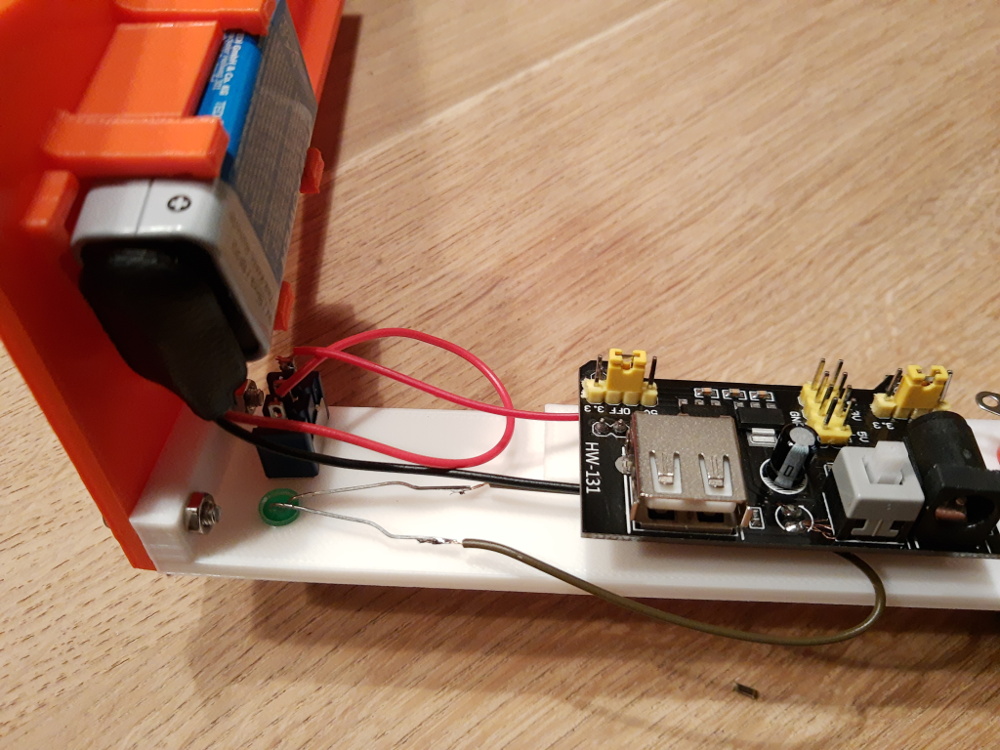
A test: When the on/off switch is toggled, the LED lights up! 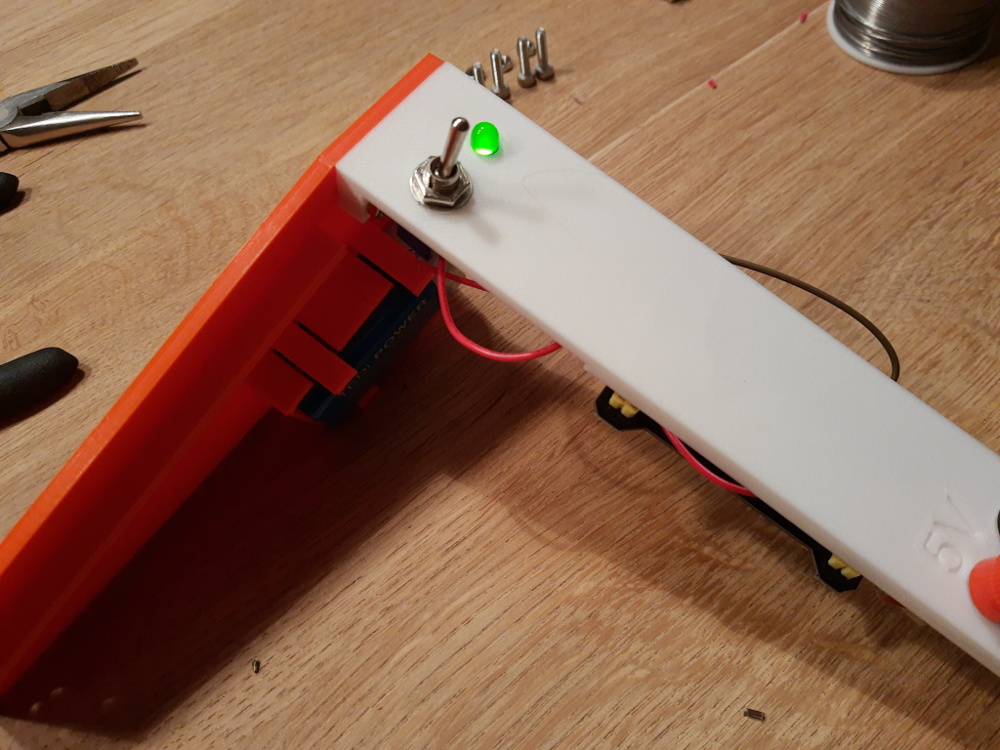
Add banana sockets to the “top” part. 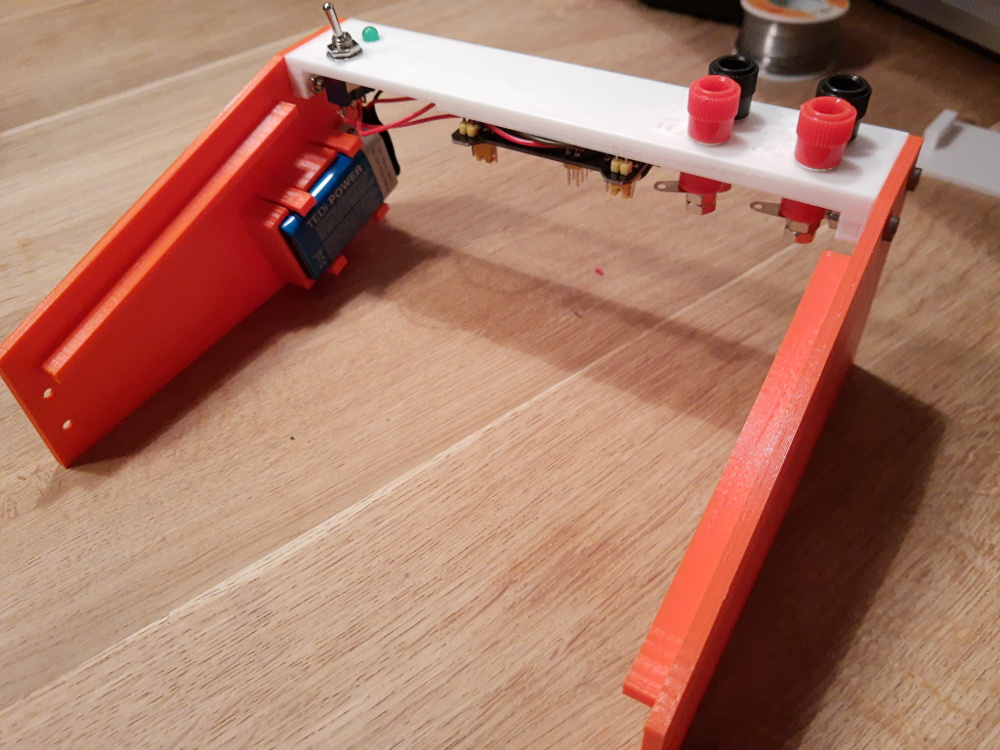
The last step: Solder the banana sockets to the hw-131 power supply. 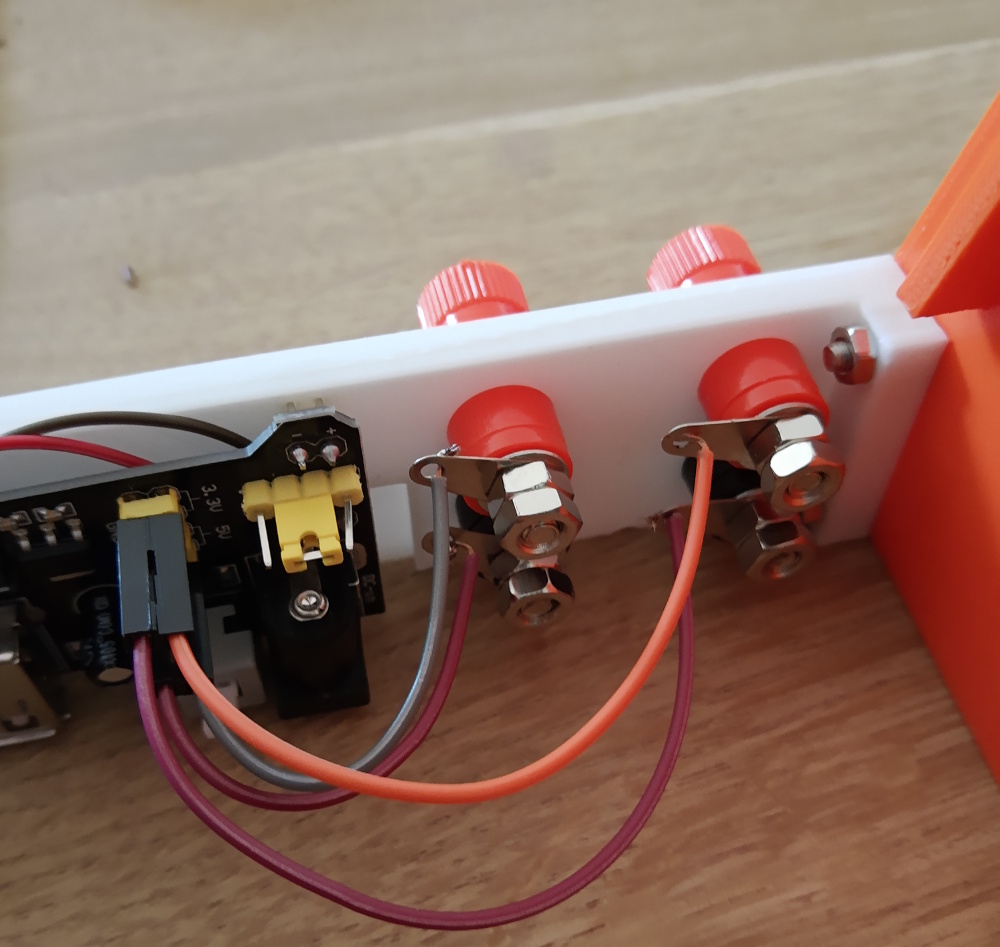
Happy prototyping! 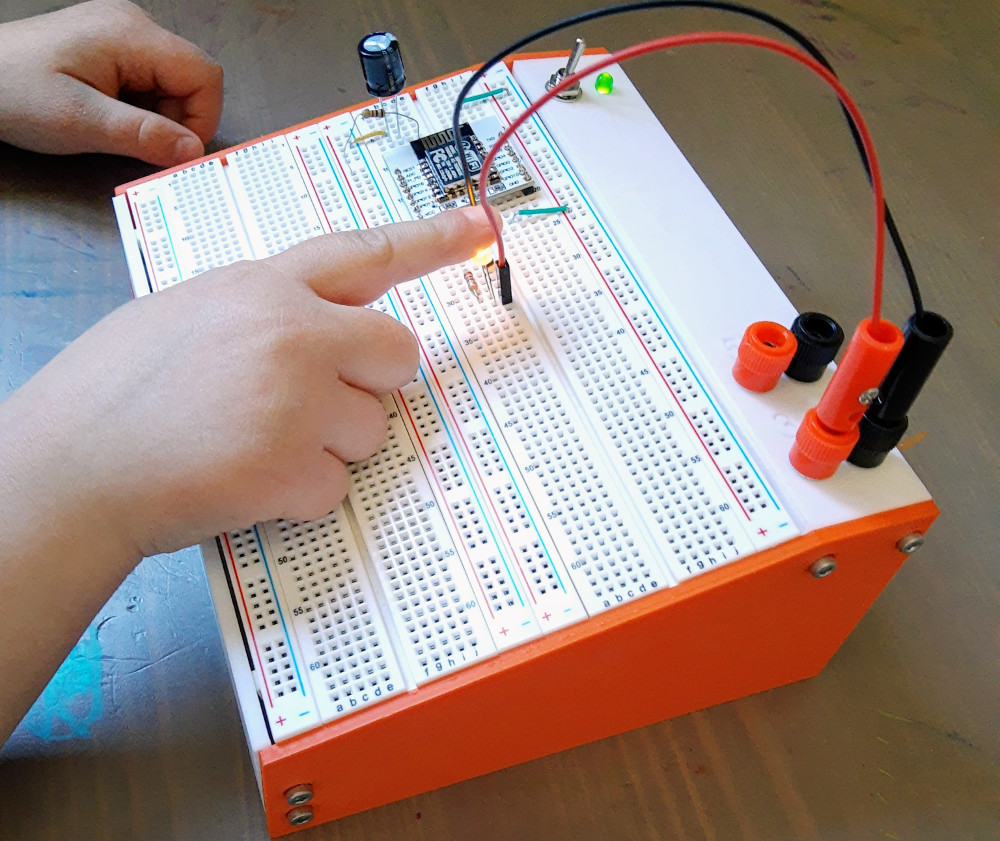
WRITTEN BY

Sebastian Glahn is a Senior Software Engineer living in Cologne. He writes about Software Development, 3D-Printing, Robots and other stuff. He is also a maintainer of several open source projects.