I was not able to work with my Portabee 3D printer in recent months. My board was damaged, probably by overheating, and I had to wait for a replacement from Singapur the last months.

The Portabee printer comes with a so called Gen6.d board, a modified Gen6 design, which comes supplied with firmware. There is no official release by Romscraj but they are using the modified? Marlin firmware. Interestingly, my replacement board is equipped with four passive heat sinks which the first board did not have. Portabee owners with an old board should eventually consider to add some passive heat sinks to their board to prevent damage. With the new board, I was finally able to finish the configuration of the Portabee printer and print my first things.
Extruder calibration
The following description refers to 3mm PLA. To calibrate the extruder I used the software Printrun/pronterface. With this software it is possible to extrude a predefined amount of filament.
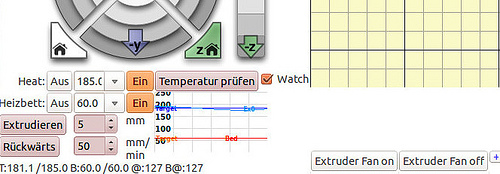
I have set the amount to 5mm and set a couple of marks on the filament with a distance of 5mm. Then I slowed down the speed to about 50mm. I hitted the Extrude button in pronterface and checked how far the mark has moved. Then I adjusted the spring compression in a way that exactly 5mm are extruded. I took me only two attempts. On my Portabee the springs are quite tight with only a small amount of compression remaining.
Heated bed
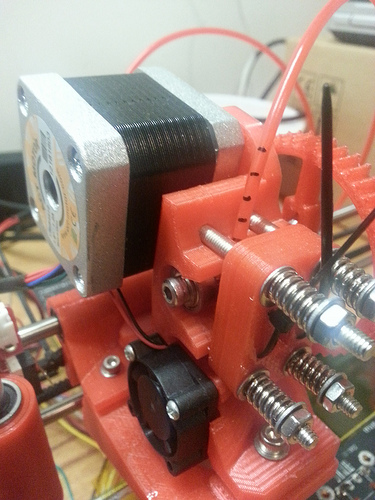
The portabee has a heated print bed. The purpose of a heated build platform is to prevent warping because it allows the printed part to stay warm during the printing process which allows a more even shrinking of the plastic as it cools down. The Portabee comes with kapton tape that should be applied to the build surface without any bubbles. The tape is very usefull because extruded plastic adheres easily to kapton tape and the cooled parts can be peeled off of the tape without damaging it. I tried different temperatures for the heated build platform and found that with the supplied power supply from Romscraj not more than 69°C can be achieved. But a temperature of 60°C for PLA is apparently sufficient.
Adjust the z-axis
I adjusted the z-axis so the nozzle head is very close to the heated bed on z-home. I tested the initial height using a sheet of paper. But be careful when you tighten the z endstop it may break.
Software makes a difference
Pronterface can read .stl files and generate g-code. G-code is the set of instructions which tells the 3d printer what to make and how to make it. This includes the description of where to move, how fast to move and through what path to move. But despite correct extruder calibration it always extruded to much filament. I could not find a setting to adjust the speed of the extruder motor.
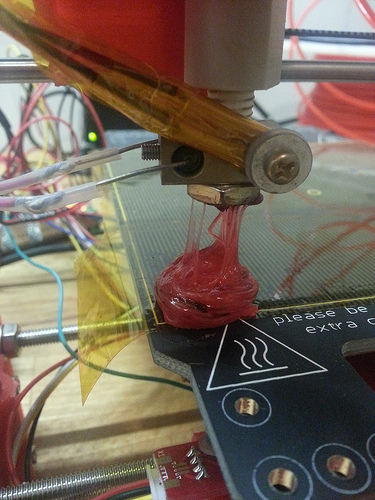
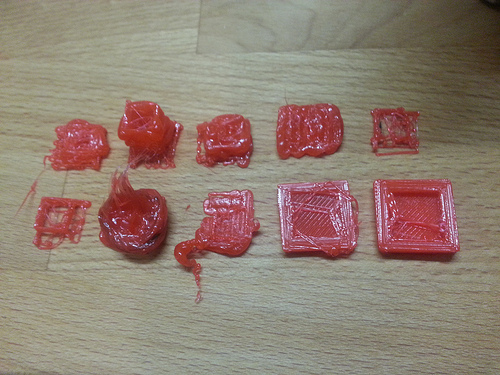
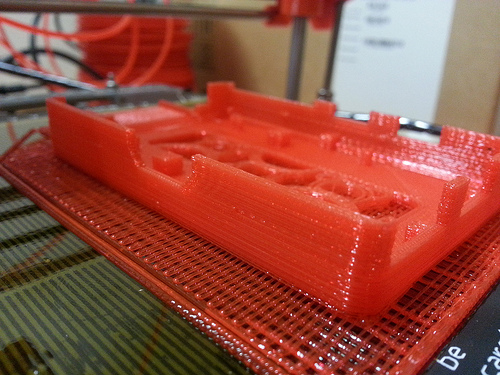
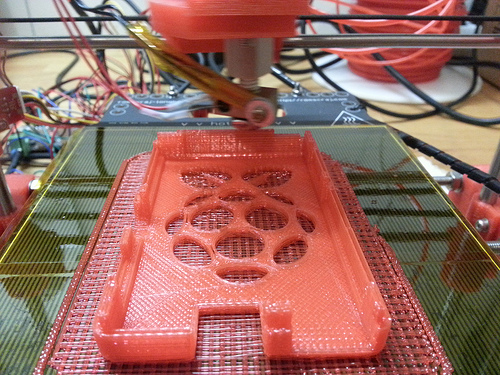
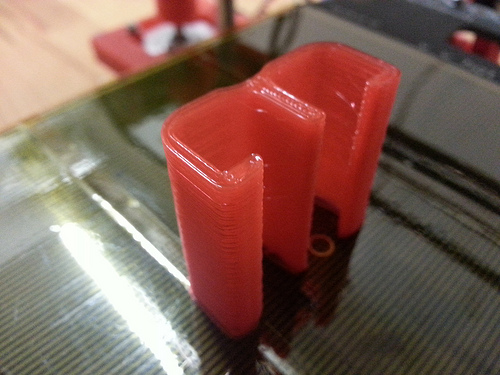
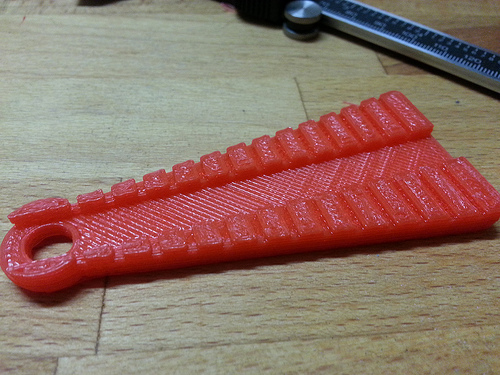
So for g-code generation I then switched to Slic3r and got the first useable prints. After that I tested Cura. I do not know which software is better Cura or Slic3r but for now I’m using Cura for g-code generation and Printrun/pronterface as a printer interface. One very important setting in Cura is called Steps per E which is the amount of steps per mm filament extrusion. I set it to 514 like it is suggested by Romscraj in there sample Cura configuration which you can find here. I’m still testing different Cura configuration parameters like with raft or without raft but with a 0mm distance skirt. I think that I can still optimize the prints but here are my first results:
WRITTEN BY

Sebastian Glahn is a Senior Software Engineer living in Cologne. He writes about Software Development, 3D-Printing, Robots and other stuff. He is also a maintainer of several open source projects.