I decided it was time to get a new 3D printer. I wanted something with a bigger build volume, a higher quality and I always wanted to play around with a delta printer. At the time of writing, the printers from the Chinese vendor Anycubic are well known for a good balance between price and quality. Their delta printer “Anycubic Kossel Linear Plus” costs 250€, which is cheaper then a middle class smartphone.
When the printer arrived, even though I was satisfied with the print results and the overall qualitity of the printer, it became clear that I had to do something about the loud noise and the smell of plastic it produced. That’s why I decided to build an enclosure.
There is some kind of odd tradition in the 3D printing community to build custom enclosures out of IKEA Lack tables. So obviously I had to try the same. I also tried to print as many parts of the enclosure as possible with the new 3D printer.
- The Base: IKEA Lack
- Doors
- Power Supply
- Filament Spool Holder
- Cable Management
- Soundproofing
- Software
- Monitoring via Tablet
- Summary
The Base: IKEA Lack
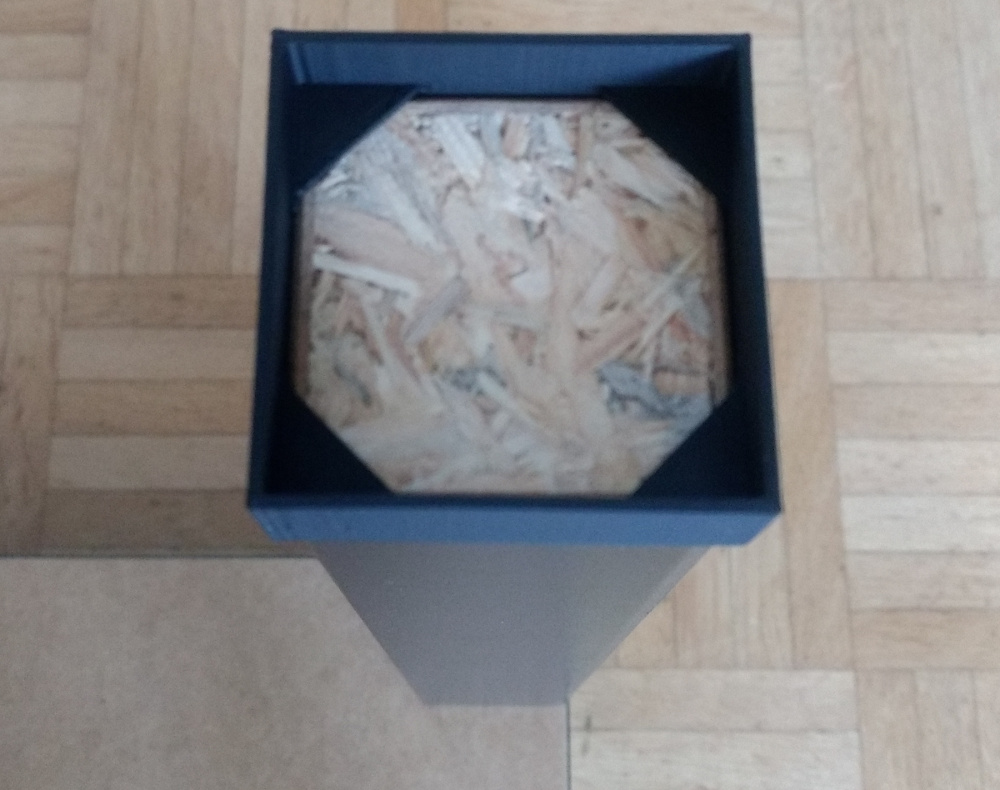
It is not so easy to use an IKEA Lack table for an enclosure of a delta printer because delta printers require much more vertical space then their cartesian counterparts. The Anycubic Kossel Linear Plus has a height of 68cm. To achieve the needed height of the enclosure I had to “stack” two IKEA Lack tables (leg length is 40cm) on top of each other. One table is upside down and the other table is on top of the first. The tables are connected with four, so called, “Lack Stackers” which I had to print first.
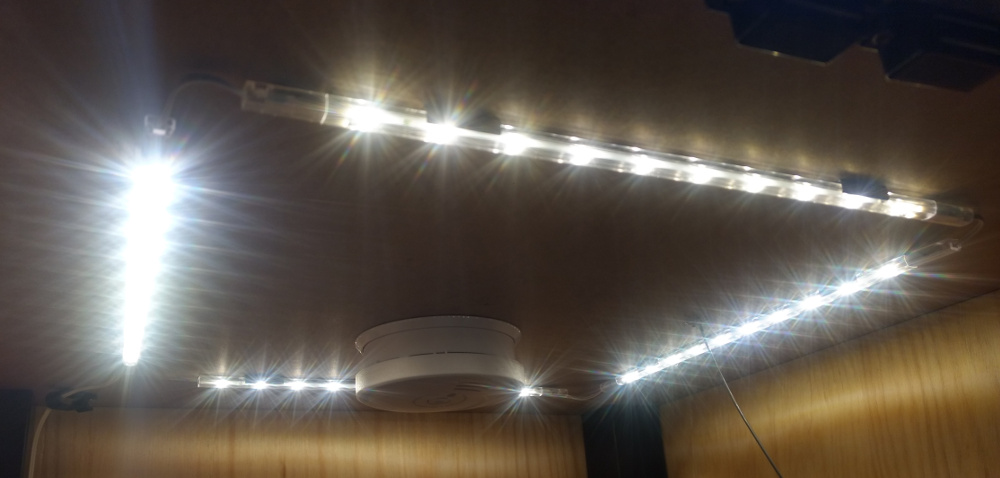
Since I already was at IKEA, I bought three IKEA Ledberg LED Stripes and a Smoke Detector for the enclosure and screwed everything together.
For the three walls (left, right, back) I used spruce wood which was cut to the right size (90cm x 55cm) in a local hardware store.
Doors
The hardest part in the project was definitly adding the doors. I didn’t want one big door, which would have needed a lot of space for opening and closing. Instead, I decided to add two smaller double doors. I used two plexiglas plates (size: 80cm x 22cm, thickness: 3mm) and printed everything else with the 3D printer. This means the door hinges and the door handles are completely printed (One hinge broke after a while so I printed a new one with more infill). I scaled the door handles to make them smaller using OpenSCAD. I added magnets on top and bottom of the doors to keep the doors in place when they are closed. Overall I must say plexiglas is very easy to drill.
The plexiglas plates are relativly big for their thickness, thats why I had to use very, very weak magnets. Otherwise the doors would bend a lot when pulling on one of the handles.
If you had ever installed two self-made doors in one self-made cabinet you would instantly know why, although it was fun and I learned a lot, I would not build such an enclosure again. It was a lot of fiddeling and pain to install the doors.


Power Supply
Because I expected some heat in it, I decided to move the power supply of the 3D printer out of the enclosure. I designed a holder for the power supply in FreeCAD and printed two of them. The cables included with the Anycubic Kossel power supply where (of course!) not long enough so I had to extend them. I used relative thick cables and led them out through a hole in the left wall.
The power supply itself is attached on the left wall on the outside of the enclosure directly sitting on the hole for the cables. With the hole covered, the inside of the enclosure is more protected against dust and I didn’t want to have more holes then neccessary in the enclosure.


Filament Spool Holder
I also had to remove the filament spool holder from the Anycubic Kossel 3D printer because, with the spool holder attached, the printer would have been to big to fit into the enclosure. I decided to print an advanced spool holder, also as a test for the printers quality.
The spool holder is attached on top of the enclosure and the filament is guided through a small hole which I drilled in the top of the IKEA Lack table.
Inside the hole I inserted 3D printed “filament guide” which is quite helpful since the IKEA Lack table is hollow in the middle and simply drilling a hole in the top makes it hard to feed the filament through, if the filament is bent in any way. There are lot of filament guides on Thingiverse, e.g.: 3118326.
To use a filament spool holder that sits “on top” of the printer, I had to turn the extruder motor 180° around.
Later I removed the extruder motor from the printer frame completely and attached it to the inner right enclosure wall. The reason for removing the extruder motor from the frame was, that during one print the filament spool was tangled and blocked the print completly. Nevertheless the extruder motor tried to pull and pull the filament in, so that the printer started to shake and jump around in the enclosure until it nearly fell over. Fortunately, I saw this on the live video stream and was able to stop the print immediatley from remote. More about the video stream and the remote control below.


Cable Management
To manage all these cabels (LED Lights, Power supply, Sensors, Camera, …) I printed cable clips. The cable clips are taken from the original Prusa i3 MK3 enclosure and they work quite well.
The cables are still a mess, the reason is that I still tend to tinker around with the enclosure from time to time.

Soundproofing
I added sound insulating foam to reduse the noise from the stepper motors. The foam was flame retardant and had an ignition temperature > 400°C.
I also printed six Vibration Dampener Feet which, in my opinion, where more affective then the foam.
Software
I don’t want to sit next to the 3D printer monitoring the print jobs all the time so I needed some way of remote control. The software OctoPrint offers a web interface for 3D printers and allows the control and monitoring of 3D printers and print jobs via the browser, exactly what I wanted! I had an old, unused Raspberry Pi Model 1 laying around which I used as a server.
There is a Raspbian distribution which includes the OctoPrint host software and mjpg-streamer with support for the Raspberry Pi Camera Module (for live viewing of prints and timelapse video creation) which is called OctoPi. The installation was very straight forward and even the old Raspberry Pi 1 (256MB RAM!) can handle OctoPrint very well. The only downside of the limited resources: OctoPrint is not able to control the print itself because the serial connection is too slow. But that doesn’t bother me because as a result of many bad expiriences with serial connections in the past I’m always printing from a SD card.
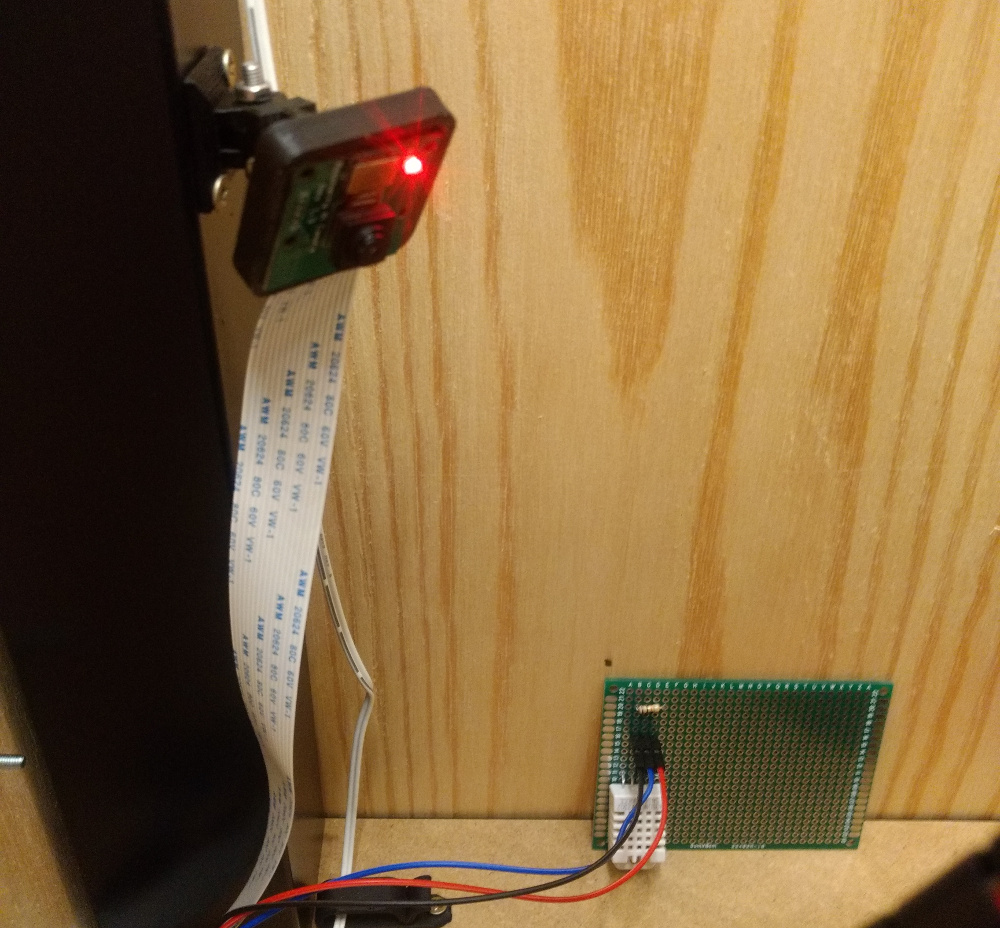
A live video stream helps a lot if you don’t want to sit next to your printer during all print jobs. OctoPrint has the ability to display such a live stream very nicely in it’s web interface and OctoPi comes directly installed with mjpeg-streamer. Adding a Raspberry Pi Camera Module to the setup was quite easy (I had to order a longer camera cable) and everything worked directly out of the box.
I mentioned earlier that I expected some heat inside the enclosure during long running prints so I wanted some kind of temperature monitoring. I connected an DHT22 temprature und humidity sensor to the Raspberry Pi GPIO pins and installed the senor in the enclosure. The adjustable mount for the Raspberry Camera Module is also printed by the Anycubic Kossel and worked very well.

There is a nice plugin for OctoPrint which is called “Enclosure Plugin”. The plugin’s intend is to control a 3D printer enclosure via Raspberry Pi GPIO pins. The plugins feature include: control active heaters on an enclosure to keep the temperature for ABS prints, send an alarm when the temperature reaches some sort of critical value, control LEDs or add mechanical buttons to the enclosure to control various things like pause, stop or resume printer jobs. This plugin also integrates nicely into OctoPrints web interface.
At the moment I’m using this plugin to monitor and display the internal temperature and humidity of the enclosure. Later I found out that the temperature inside the enclosure, even in long running multi hour prints, never rises above more then 28°C. But I guess it’s good to have such a monitoring in place nevertheless. Below are some screenshots of OctoPrint and the enclosure plugin in action.


I was unable to find a case for the Raspberry Pi Model 1 with cutouts for the GPIO pins as well as for the Rasperry Pi camera cable. So I had to design my own, this time I used Autodesk Fusion 360, and printed it with the Anycubic Kossel. I mounted the case containing the Raspberry Pi on the outside of the enclosure next to the power supply.
The USB cable of the Anycubic Kossel is connected to the Raspberry Pi to allow control via serial connection.

Monitoring via Tablet
I’m using a tablet to actively monitor the print jobs via camera stream and the temperatures in the enclosure via OctoPrints web interface. The tablet stand for a 10” tablet is, of course, printed with the Anycubic Kossel 3D printer. It is also possible to pause or stop prints via the web interface. There is another OctoPrint plugin called “OctoPrint Anywhere” which allows you to view the livestream and pause/stop print jobs without access to the local network.
Summary
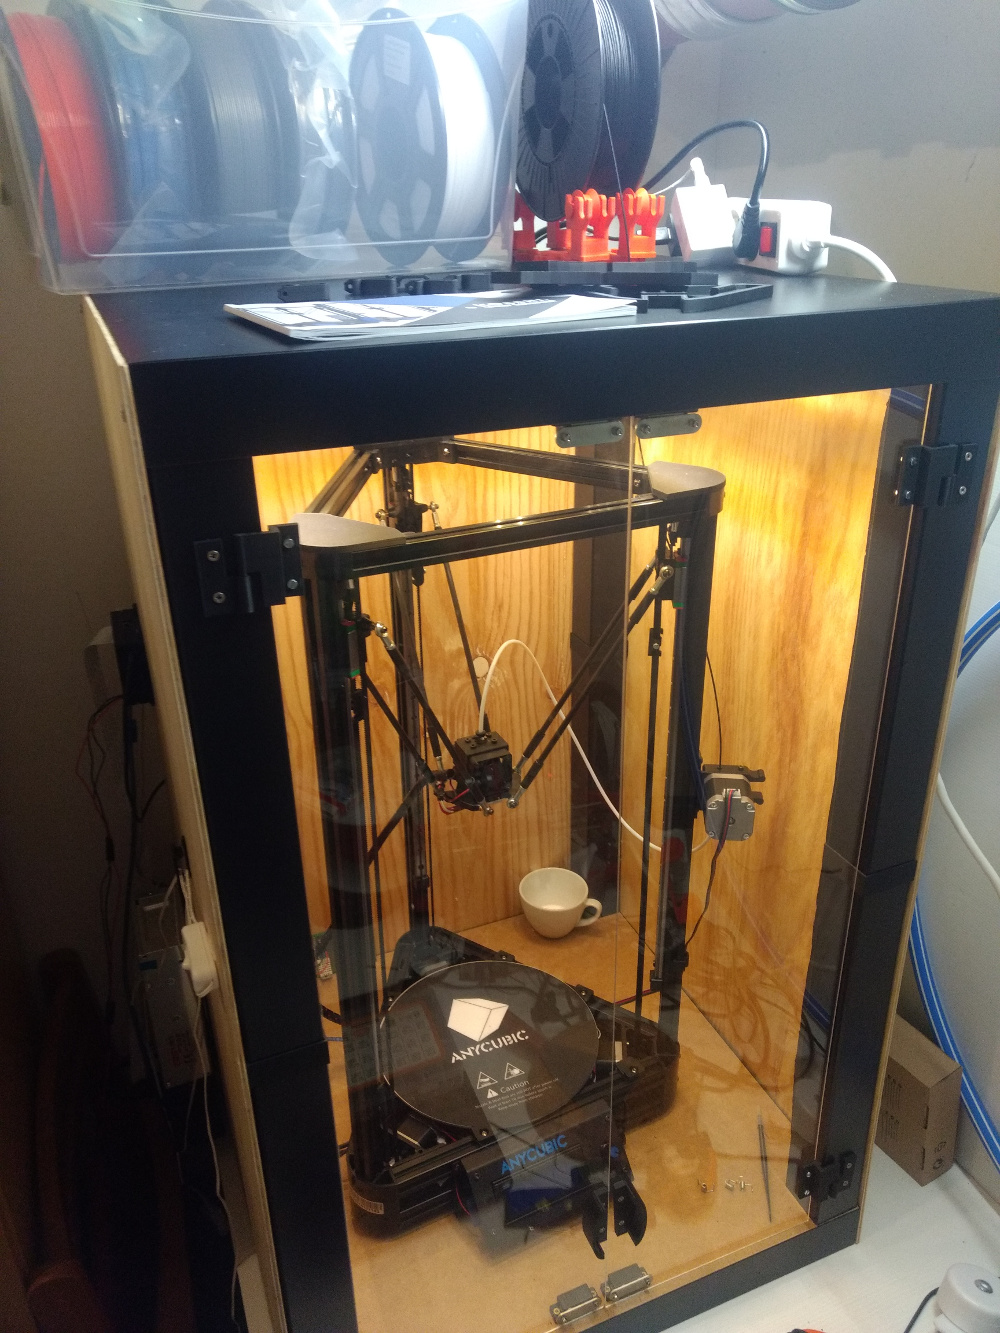
Building the enclosure was a lot of fun but it was also very time consuming. The 3D printer is now protected against dust and it emits less noise and less plastic smell. Below is a picture of the finished enclosure (By the way, the cup contains Silica gel to reduce humidity in the enclosure).
WRITTEN BY

Sebastian Glahn is a Senior Software Engineer living in Cologne. He writes about Software Development, 3D-Printing, Robots and other stuff. He is also a maintainer of several open source projects.